Christmas Cookies
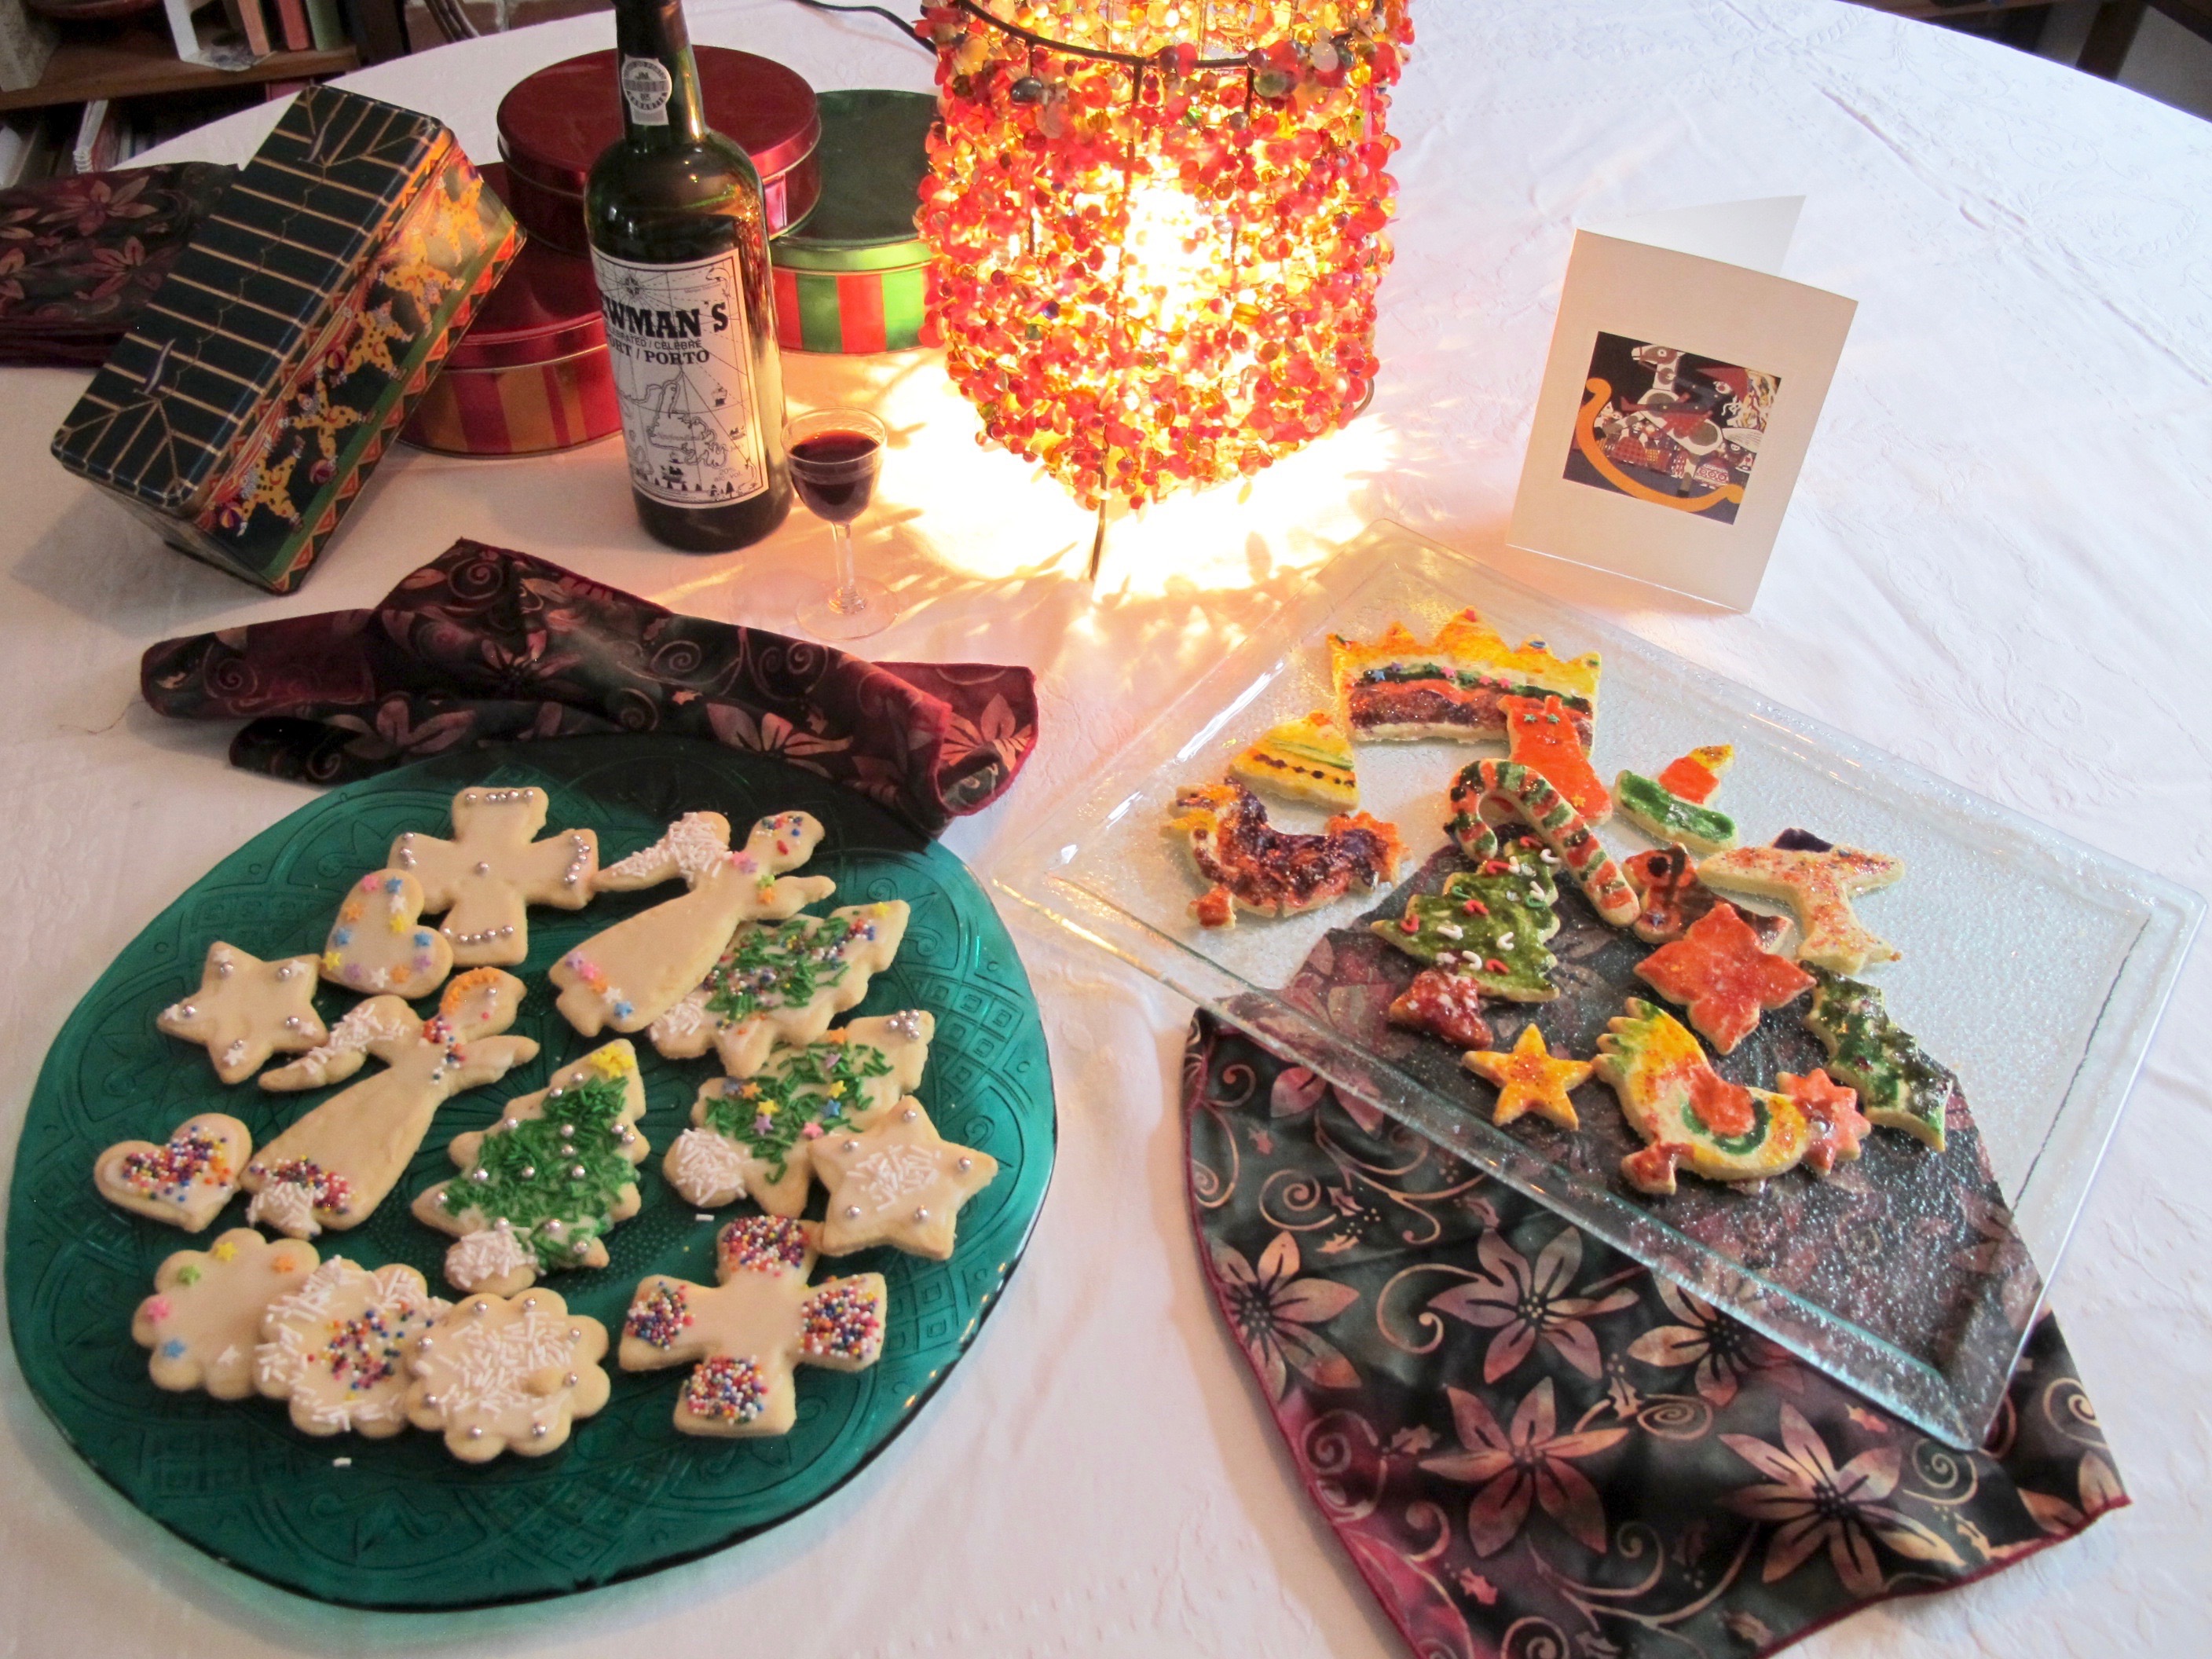
LEFT BRAIN: American Sugar Cookies
Sugar cookies adapt to various holidays merely by varying the cutter to suit the occasion. My cookie cutters have accumulated over the years, however the truly treasured ones are those handmade at my husband’s grandfather’s sheet medal fabricating company, now defunct, but not due to lack of artistry in making the cutters!
These sugar cookies are quite distinct from shortbread, being quite crisp and very sweet. The original recipe came from a fund-raising cookbook for a church in Syracuse, New York, circa 1974, where the recipe called for shortening – so I adapted it to butter and oil.
Decorate the cutouts with a swiftly stirred-together icing. Colourful sprinkles are a lovely addition, especially if making them with children. In this case, beware, as sprinkle bits go everywhere, turning up months later in the most unlikely spots.
Makes 4-6 dozen cookies
Preheat oven to 325F (160C)
1/2 cup (225g) butter, softened
6 tbsp (90 mL) vegetable oil
1 cup (200g) granulated sugar
1 egg
1 tsp (5 mL) pure vanilla
1/4-1/2 tsp salt (1.5-3g) (use lesser amount if using salted butter)
2 1/4 – 2 1/2 cups (270-300g) all-purpose flour (stir before measuring)
1 tsp (4g) baking powder
1-2 batches simple icing (see below)
Colourful sprinkles
- Cream butter with sugar; add oil, egg, vanilla and salt. Stir 2 1/4 cups flour with baking powder thoroughly; stir into butter mixture. The dough should be capable of being rolled out; if too moist, add remaining flour as needed.
- Turn into a plastic bag and refrigerate for about an hour or up to a day. Then roll out about a quarter of dough on a floured pastry cloth until 1/8-inch thick. Cut out with cutters of choice [or make free-form cookies]. Gather the scraps to add to a fresh hunk of dough for rolling out again.
- Bake cookies, slightly apart, on cookies sheets lined with parchment paper in preheated oven for 11 to 13 minutes, or until just golden about the edges. Cool cookies still on parchment on a rack while making more. Frost and decorate as desired.
- Allow iced cookies to dry overnight, uncovered, then store airtight for a week or two, or freeze.
Simple icing: For one batch, stir 1 cup (125g) icing sugar with 2 tablespoons (30 mL) of milk and 1/4 tsp (1 mL) vanilla. Multiple batches may be needed with small helpers!
Joanna’s comments:
These are delicious cookies with a great crisp bite. Try rolling out the dough into a long sausage, roll in plastic wrap and pop into the freezer. Pull out and temper for a few minutes before cutting into little wheels and baking for oven-fresh treats for guests.
RIGHT BRAIN: Christmas Cookies
Santa is bound to be impressed by these creations, colourful, rich and not too sweet (sprinkles not withstanding). I have used this simple roll cookie recipe because it maintains its shape and won’t distort the decorated cookies when baked. Parents? Back off if there is a bunch of children doing the painting – and let them go. Believe me a room full of kids painting cookies makes the quietest party you’ll ever throw.
Makes 4-6 dozen cookies
Preheat oven to 350F (180C)
1/2 cup (225g) butter
1/2 cup (50g) white sugar
1 tsp (5mL) vanilla (or orange or lemon extract, if preferred)
2 eggs
2 1/2 cups (300g) all purpose flour, divided
1 1/2 tsp (12g) baking powder
1/2 tsp (2g) salt
Dough:
- Mix 2 1/4 cups (270g) flour, baking powder and salt. Set aside the remaining flour for rolling.
- Cream the butter and sugar together.
- Beat in the eggs with the chosen extract.
- Add flour and mix until it starts coming together as a ball.
- Spill out on the counter and make it a rectangle about 6”x 8”. Wrap it and chill in the fridge.
- When ready to roll bring the dough out to warm up and get that last bit of flour which was set aside.
Rolling:
- Find two pieces of wood such as similar rulers or new paint-stirring sticks.
- Using ample flour and a spatula to slide under the dough will keep it from sticking. If you need a little more flour go ahead but be judicious about it.
- Put a little flour in a puddle and dip each cutter in it. Place cutter and as many more floured cutters on the dough as you can squeeze on the rolled surface. Pull the uncut bits and pile them up to use again. Lift cutouts with the spatula and position onto parchment paper with a good space in between for ease of painting (label the parchment with the child’s name).
Paint:
This is egg paint just as Leonardo da Vinci might have used.
4 or more eggs
Food colouring
Several small paint brushes
Colourful sprinkles
Separate eggs. Use one yolk per desired colour. Stir each yolk with drops of food colouring using a popsicle stick. You can also sieve some whites and give them a touch of colour for more sophisticated painters.
Offer plenty of sprinkles, keeping separate. [I have seen crocodiles with a set of gleaming white teeth. Some may end up with being “Marrakech Express”, that is cookies blistering with sprinkles. Save the good ones to leave out for Santa.]
Before the painting starts set one ground rule. Don’t use the paintbrush in more than one colour. Paint cookies as desired and add sprinkles.
Bake in preheated oven for 10 minutes or until lightly golden around the edges. Cool cookies still on parchment slid onto a rack.
Marilyn’s comments:
My sons were at the first cookie party that Joanna hosted at Christmas. Both of them now decorate cookies with their children. Further inspired, my architect son cut templates for a whole gingerbread village, to be baked by his wife and embellished by the whole family!
These cookies are much less sweet than my American sugar cookies.
Do buy colourful sprinkles at bulk food stores, as they are a fraction of the cost of the ones in the grocery store where one is paying more for the packaging than the contents.